Gradient
What we will learn
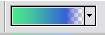
Applying Gradients
- Select the type of gradient you want : Linear, Radial, Angle, Reflected
or Diamond
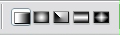
- Select the Type of Color pattern you want
- Click the Drag over the selected area
Creating Gradients
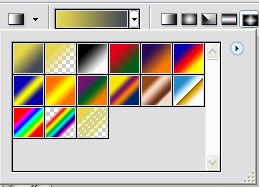
- Double Click the Gradient pattern
- Gradient Editor will open
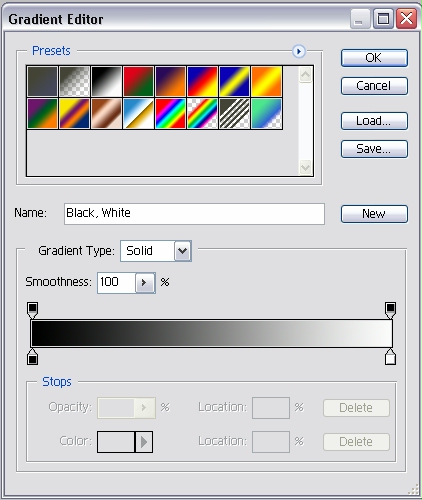
- Give your new gradient a name
- Choose a Gradient Type : Noise or Solid
- Choose a Smoothness Percentage
- Choose the bottom stop (arrows) to select colors

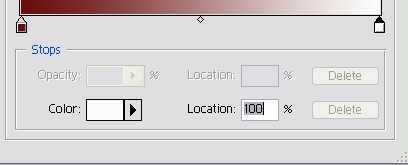
- Choose the top stop (arrows) the select opacity

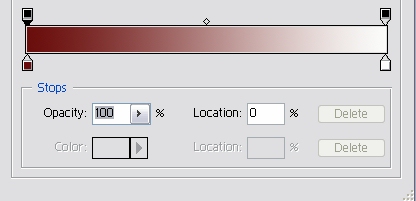
- If you want to add more stop points just click in the position you
want to add them
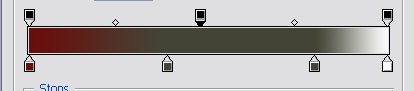
- If you want to delete the stop points, click and drag away the stop
- Press OK if you have created your desired gradient
- If you want to Add you gradient Click the down arrow
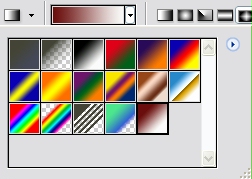
- Click the Circle Arrow

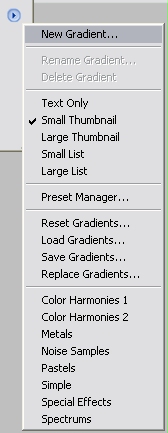
- Select New Gradient

- Give it a name
- Your new Gradient will be added to the rest of the gradients
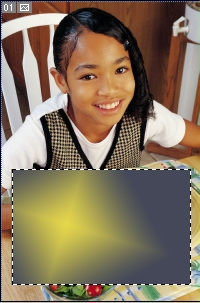
Applying Gradient Fill Layer
- Go to Layer > New Fill Layer > Gradient
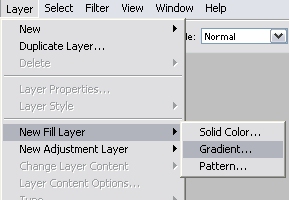
- Give it a new name
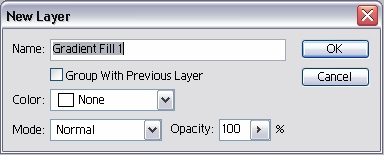
- Press OK
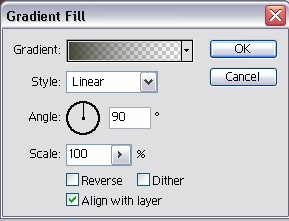
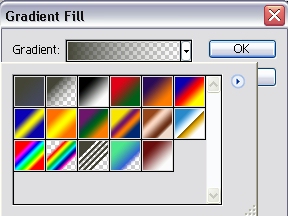
- Choose the Gradient, Angle and Style
- Press OK. You Picture will have a gradient fill
Applying Patterns
- Select the Pattern Stamp Tool
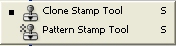
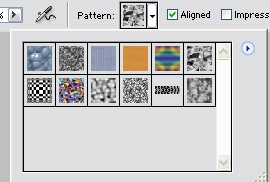
- Go to the Stamp Tool Options Bar
- Choose the pattern
- Start painting with the pattern you have selected
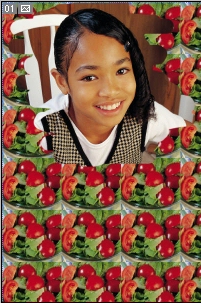
Creating Patterns
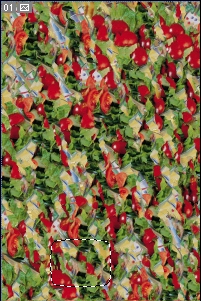
- Select a portion of the picture that you want to convert to pattern
- Go to Edit > Define Pattern
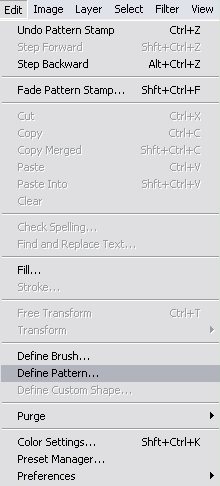
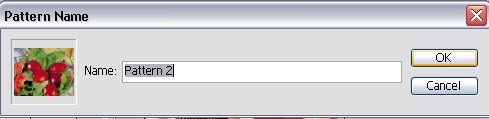
- Give the new pattern a name
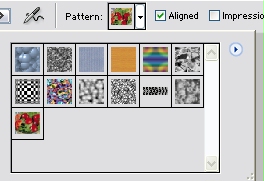
- This pattern will now be added to the preset pattern list
- Go to Stamp Tool optins bar and you will
find your pattern there
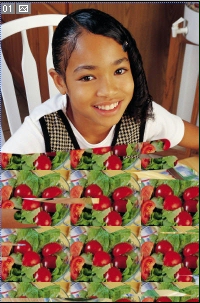
- Using the Pattern Stamp Tool start painting with your newly created
pattern
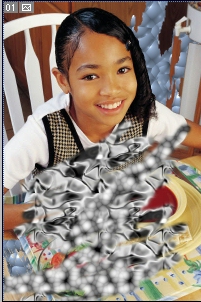
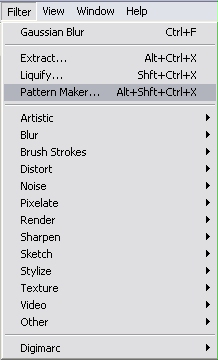
Using Pattern Maker
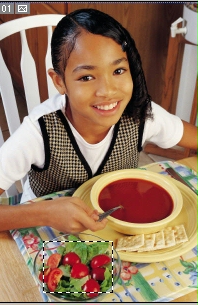
- Select a portion of the picture
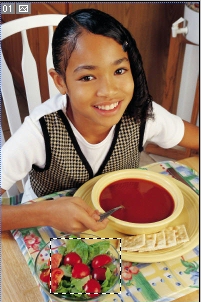
- Go to FIlter > Pattern Maker
- Pattern Maker Screen will open. Click Generate
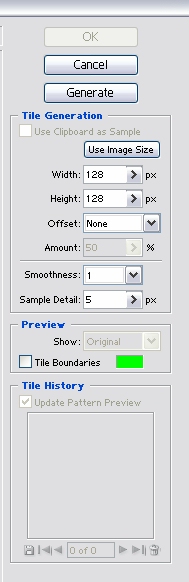
- If you want to see more types of pattern, click Generate Again
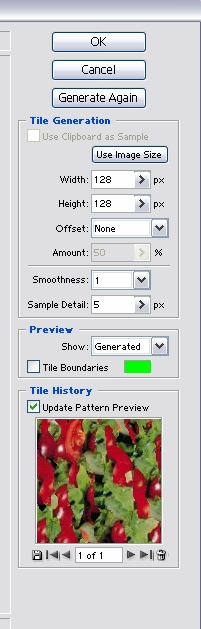
- After you have found the right kind of pattern click OK.
You will have the pattern filled in your graphic.
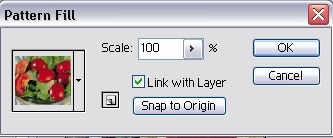
Applying Pattern Fill Layer
- Go to Layer > New Fill Layer > Pattern

- Give a new name for the layer
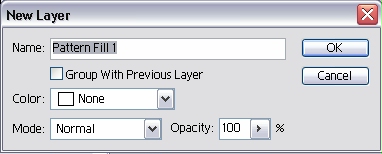
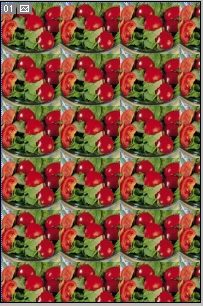
- Choose a pattern fill
- The pattern will be filled on the graphic
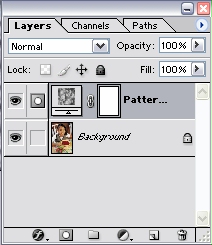
- The layers panel will show a new layer with the pattern and a mask
on the layer
- Click the Mask

- Use a Black Foreground and start painting to reveal the picture underneath